I felt very excited when i was one among the 10 from our whole department selected for MISSION-10x - a 3 day training program organized by WIPRO in our college. The three days were completely different from our normal, boring class hours and we guys enjoyed and at the same time learnt a lot of things!!!
DAY 1:
The first day of our program started with Break The Ice Session!! In this session we were split into teams of 3. I was teamed with Mrs.Vishnupraba and Mrs.Meenakshi. Soon after this we had some lectures and quizzes on various topics like FPGA, Linux,embedded system etc...Then we were introduced the kit which we were going to work with for the next 2 days...It was named UTLP ( Unified Technology Learning Platform) kit. After this we had lectures about this kit i.e its features, what is useful for, where we use this etc.. With this the day 1 came to an end. The eagerness of working with the kit reached its peak and yet we have to wait for the next day to be born!!!
DAY 2:
Everyone in the training assembled so early. During the morning session we were taught the basic syntax and procedures associated with the kit. As it mostly resembled 'C' it was quite easy for us to pick up. Some of the major components in the UTLP kit are GLCD ( Graphic LCD), 7-seg display and it also had around 10 LED's. Few Basic programs for integrating these with UTLP kit was taught to by the staffs and then we were asked to do few more exercises with them too. By the end of the day we were informed that we have to do a mini project with our team tomorrow and we were asked to give a title today. After having some discussion our team decided to name our project STUDENT RESULT ANALYSIS in 2-D BAR GRAPH!!
DAY 3:
This is the we finally worked on our mini project. To display the 2-D bar graph on the GLCD display the first thing we did was to know few basic things about GLCD like where is the pixel count starting, total number of pixel it has etc. The next thing we did was to divide the GLCD into the required number of columns. Then with the marks obtained from the user we wrote a simple program ( most of which is simple mathematics ) which will adjust the height of each bar. We also gave different colors to each bar so that users can easily distinguish between each of them. We also wrote a program which will give a subject wise display so that the user can find out in what subjects the students are lagging behind.
A snap of my team can be found at the following link:
http://psnacet.edu.in/2014bmewipro.php
The story is tooo long right?? But i'm sorry it is not yet over..At the end of this came a really surprising news..Mam told that the entire group would be divided into two teams and each should a do a final project with the UTLP kit..We were immediately divided into two teams and for the final project i was put into the integration team. Our final project was " ROLLING MESSAGE WITH GLCD ". We were given two days time to submit our final project!!!
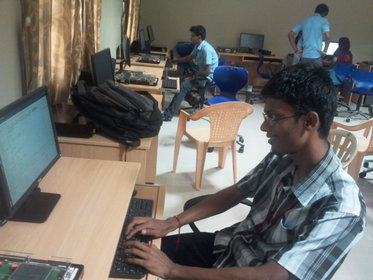
Myself at coding time
Final Project Begins!!
As soon as we were split into teams we started to work on it. As we were already familiar with GLCD we found it quite easy to work with it. The first thing we did was to split the entire GLCD into two halves. The next task was to write code which will display the alphabets on the GLCD. Few characters like C,B,A were quite easy and took relatively no time. However, designing special characters like Z,K,V took a bit of time. At the end we integrated all those things. Then comes the major part!! We have to make the characters to Roll...We designed a simple algorithm which does this task.
As soon as we were split into teams we started to work on it. As we were already familiar with GLCD we found it quite easy to work with it. The first thing we did was to split the entire GLCD into two halves. The next task was to write code which will display the alphabets on the GLCD. Few characters like C,B,A were quite easy and took relatively no time. However, designing special characters like Z,K,V took a bit of time. At the end we integrated all those things. Then comes the major part!! We have to make the characters to Roll...We designed a simple algorithm which does this task.
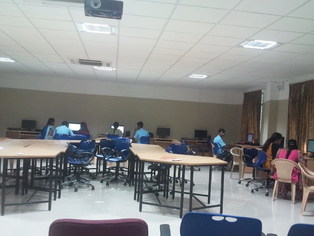
Front view of our WIPRO lab
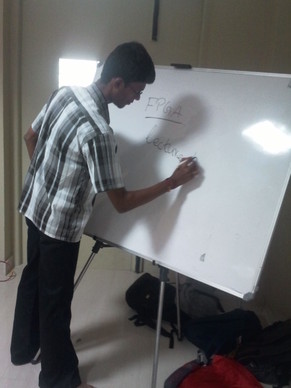
Myself explaining a question about FPGA
With these images the following post comes to an end..See you guys sooner with a new story :)
